Growing herbs at home is a rewarding practice that brings the garden-to-table lifestyle into your kitchen. Besides offering fresh flavors, homegrown herbs can be dried and stored, ensuring a supply of fragrant seasonings year-round. Preserving the flavors effectively requires attention to detail and some nurturing. Here, I’ll share methods that have worked well for me, backed by some gentle observations from research and practice.
Harvesting Your Herbs
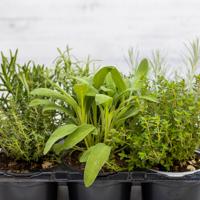
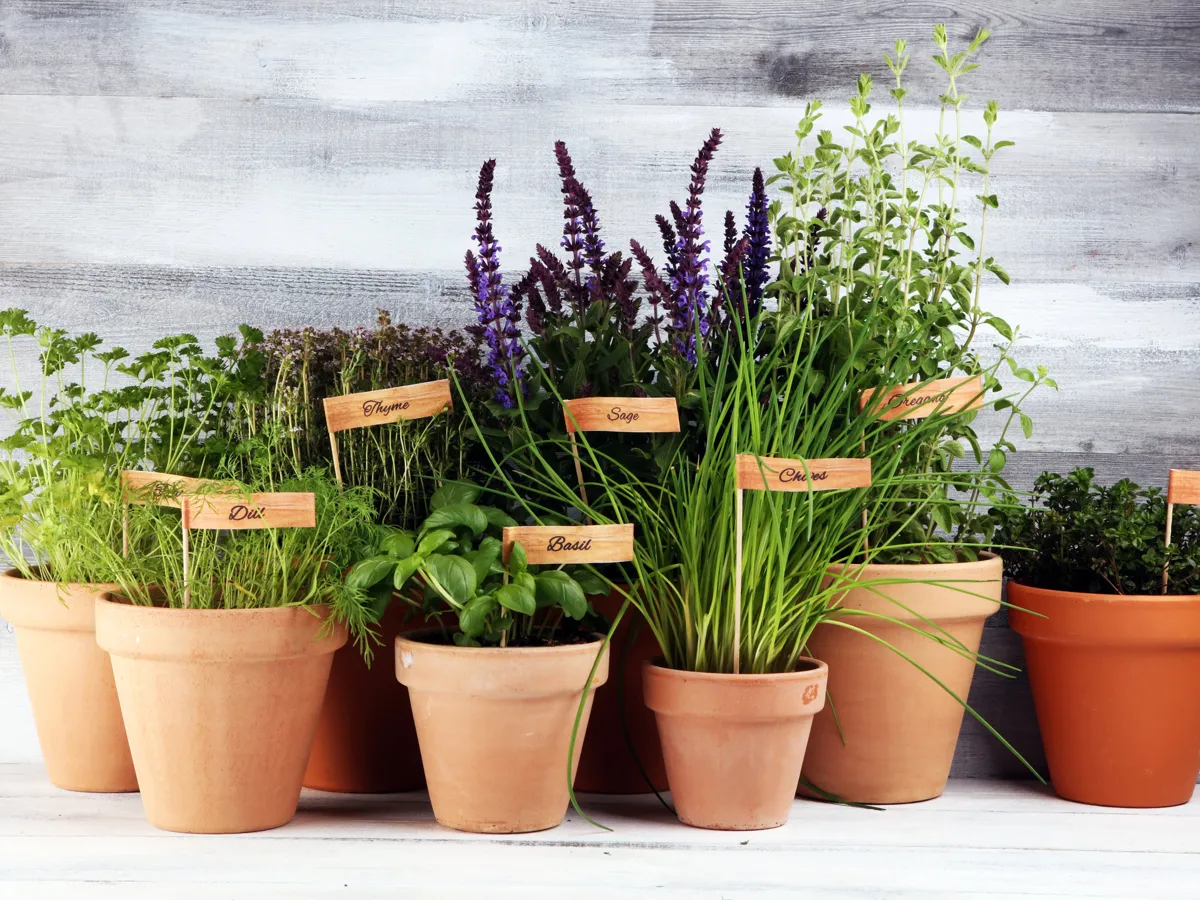
Begin by choosing a dry morning to harvest your herbs, ideally after the dew has evaporated but before the sun is too high. This time ensures the oils in the herbs are at their peak, which preserves flavor. Use clean scissors or pruning shears to cut the stems. Basil, rosemary, and thyme are common herbs that adapt well to drying.
Preparing Herbs for Drying
Wash the herbs gently under cool water to remove any dust or insects. Shake off excess water or use a salad spinner for leafy herbs like parsley or mint. Pat them dry with a clean kitchen towel, ensuring they are completely dry to limit mold development during the drying process.
Methods for Drying Herbs
While there are several ways to dry herbs, each method has unique benefits. Here are a few methods I’ve tried:
Air Drying
Air drying is one of the simplest methods, particularly suitable for robust herbs like rosemary and sage. Group 5-10 stems into small bundles using twine or rubber bands. Hang them upside down in a warm, dry place with good air circulation, avoiding direct sunlight. Depending on the humidity, this can take one to three weeks.

Oven Drying
For those short on time, using an oven offers a relatively fast method. Preheat your oven to its lowest setting (usually between 150°F and 180°F). lay the herbs on a baking sheet in a single layer, and prop open the oven door slightly to allow moisture to escape. Check herbs every 20-30 minutes to avoid cooking them, which typically takes a few hours.
Dehydrator
A dehydrator is efficient for drying herbs if you have this equipment. Arrange the herbs on the trays without overlapping them, set the temperature to about 95°F, and check them after a few hours. This method often requires less oversight than an oven and maintains more of the herbs’ original color and flavor.
Microwave Drying
For small quantities, a microwave can work in a pinch. Place herbs between two microwave-safe paper towels and microwave on high for 1-2 minutes. Start with short bursts of time to prevent burning.
Storing Dried Herbs
Once dried, the herbs should crumble easily. If they don’t, they may need more drying time. Strip the leaves from the stems and store them whole to preserve flavor. Crush them just before use.
Store dried herbs in airtight containers, preferably glass jars, in a cool, dark place. Plastic containers are fine but may hold onto some of the oils. If possible, label your containers with the name of the herb and the harvest date.
Usage and Longevity
Dried herbs typically remain potent for 6 to 12 months. When using them in recipes, start by using about one-third to one-half the amount of fresh herbs called for, adjusting according to taste.
Conclusion
Drying and storing herbs at home is a gentle, rewarding process. It encourages a deeper connection to your garden, reminding us of nature’s cycles and our role in them. Whether you’re drying basil for pesto or rosemary to sprinkle on roasted vegetables, these time-honored methods help preserve and savor your gardening efforts throughout the year.
Embrace the experimentation with these methods, and don’t worry too much about finding perfection. Each batch of herbs brings new lessons and flavors to enjoy.