Introduction
There’s a gentle satisfaction in crafting something from the produce you’ve nurtured in your garden. Making homemade jams is one such endeavor that not only captures the essence of seasonal fruits but also extends their life beyond the harvest season. In this article, we’ll explore the art and joy of making jams using fruits from your own garden. Let’s embark on this journey of taste, sustainability, and gratitude for the bounty of nature.
Why Make Homemade Jam?
Homemade jams offer numerous benefits. They’re a delightful way to preserve the flavors of your garden fruits, allowing you to enjoy them throughout the year. Making jam at home also gives you control over the ingredients—ensuring that your jams are free from additives and unnecessary sugars that are often present in store-bought versions.
Moreover, it’s an opportunity to experiment with flavors and create unique combinations that reflect your taste and creativity. For those committed to sustainability, homemade jams reduce waste by utilizing excess produce that might otherwise go uneaten.
Choosing the Right Fruits
Nearly any fruit can be transformed into delicious jam. The key is selecting fruits that are ripe and full of flavor. Common choices include strawberries, raspberries, blueberries, peaches, and plums. You might also consider more adventurous options, such as kiwifruit or figs.
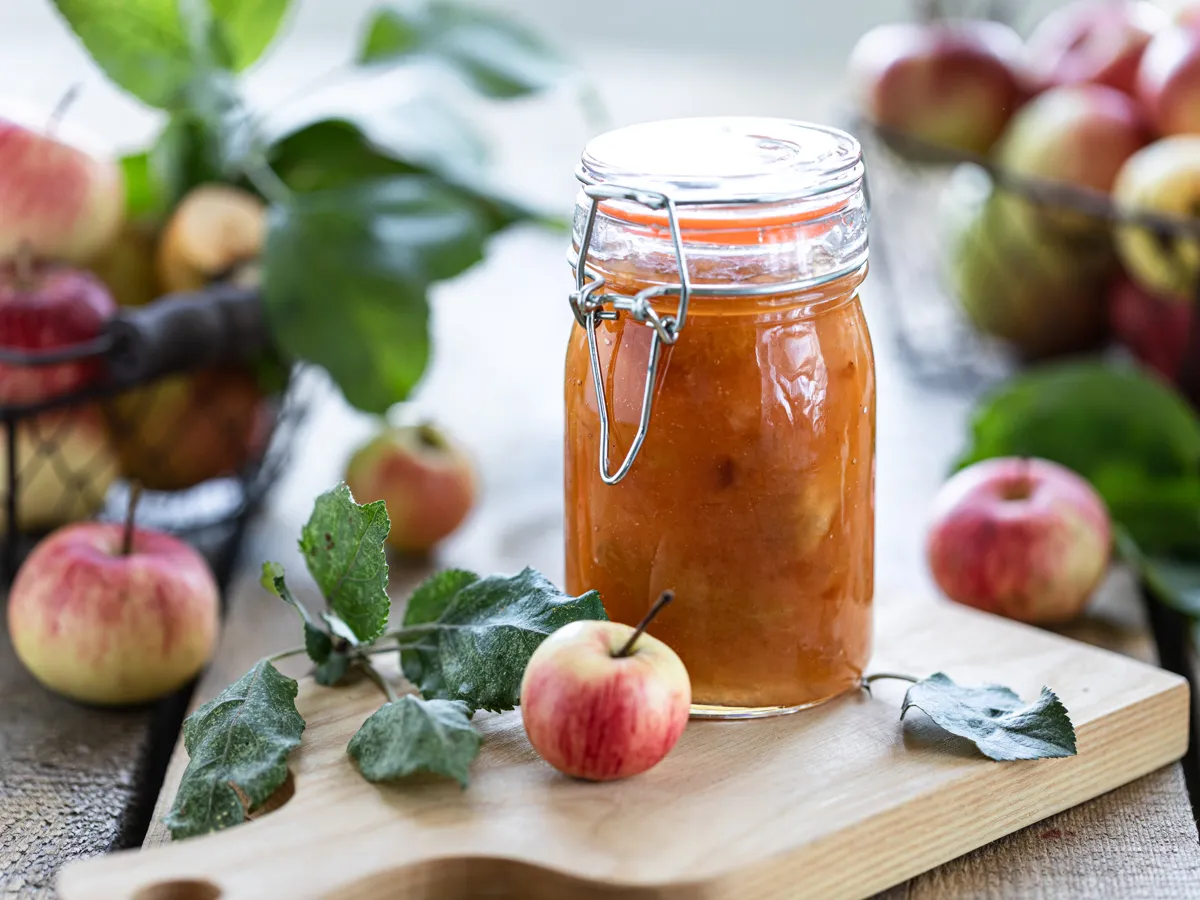
It’s important to remember that the fruit’s natural sweetness and pectin levels will affect your jam-making process. High-pectin fruits like apples and citrus fruits can help your jam set without needing added pectin.


Basic Jam-Making Process
Here’s a simple guideline to making your homemade jam:
Ingredients:
- 2 lbs (900 g) of your chosen garden fruit
- 4 cups (800 g) of granulated sugar
- Juice of one lemon
Instructions:
-
Prepare the Fruit: Wash and remove any skins, pits, or stems. Depending on the fruit, you may need to chop it into smaller pieces.
-
Macerate the Fruit: In a large bowl, combine the fruit, sugar, and lemon juice. Stir well and let it sit for at least an hour. This helps the sugar dissolve and the fruit release its juices.
-
Cook the Jam: Transfer the mixture to a wide, heavy-bottomed pot. Heat it over medium, stirring frequently to prevent sticking or burning. Skim off any foam that forms on the surface.
-
Test for Setting Point: After about 20-30 minutes of cooking, start testing your jam for the set. A simple method is the “wrinkle test” – place a spoonful of jam on a cold plate, let it cool, and push your finger through it. If it wrinkles up, it’s ready.
-
Jar the Jam: Sterilize your jars and lids by boiling them for 10 minutes. Carefully ladle the hot jam into the jars, leaving a little headspace. Wipe the rims and seal the jars.
-
Process the Jam: To ensure longevity, process the sealed jars in a boiling water bath for about 10 minutes. Once cooled, store them in a cool, dark place. They should last for up to a year.
Experimenting with Flavors
Feel free to experiment with additional flavors like vanilla pods, cinnamon sticks, or even herbs such as basil or thyme—these can add an unexpected yet delightful twist to your jams. Mixing fruits, such as peach and raspberry or strawberry and rhubarb, also offers flavorful variations. Let your taste preferences guide you.
Sustainability and Mindfulness
As you engage in this age-old practice, it’s worthwhile to reflect on the sustainability aspect of your gardening and kitchen practices. By utilizing garden fruits and avoiding commercial products, you are making a small yet significant contribution to reducing your ecological footprint.
By engaging with local resources, sharing with neighbors, or swapping jam jars, you’re fostering community and strengthening ties with others who value sustainable practices.
Conclusion
Making homemade jams from garden fruits is a simple yet fulfilling task that connects you to the cycles of nature. It’s a means to savor the fruits of your labor for months on end and share them with loved ones. Though the process involves a bit of effort, the reward of spreading your homemade jam on fresh bread or serving it with yogurt makes it all worthwhile.
May your jamming journey be as sweet and varied as the fruits you choose. Enjoy the simplicity and joy that comes with every jar you create.