Navigating the world of sustainable gardening can be both exciting and fulfilling. One of the many topics that intrigues gardeners is vermicomposting—composting with worms. By introducing worms into a composting routine, you can create rich soil amendments right in your backyard. It’s a delightful way to manage kitchen scraps and improve your garden’s soil health at the same time.
What is Vermicomposting?
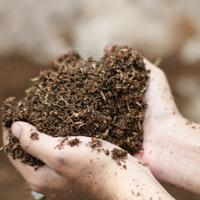
Vermicomposting, sometimes called worm composting, is the process of using worms to break down organic waste and turn it into nutrient-rich compost, commonly known as worm castings or vermicast. This natural process allows you to recycle kitchen waste efficiently, benefiting both the environment and your garden.
Red wigglers (Eisenia fetida) and European nightcrawlers (Eisenia hortensis) are popular choices for worm composting. These species are efficient processors of waste and thrive in compost bins.
Setting Up a Worm Bin
To start vermicomposting, you’ll need a worm bin. You can purchase a commercial bin or create one yourself using simple materials.
Materials Needed:
- Container: A large plastic or wooden bin with a lid works well. Ensure it has adequate drainage and ventilation holes.
- Bedding: Shredded newspaper, cardboard, or coir makes excellent bedding. This material should be moist to create a comfortable environment for the worms.
- Worms: Purchase red wigglers or European nightcrawlers from a reputable supplier.
Steps to Set Up:
-
Prepare the Bin: Drill small holes around the upper part of the bin and the bottom to allow for air circulation and drainage. Place a tray or saucer underneath to catch any liquid, known as leachate.
-
Add Bedding: Fill the bin with moist bedding material (shredded newspaper or cardboard) about one-third full.
-
Introduce the Worms: Gently place your worms on top of the bedding material. Allow them to burrow naturally into their new home.
-
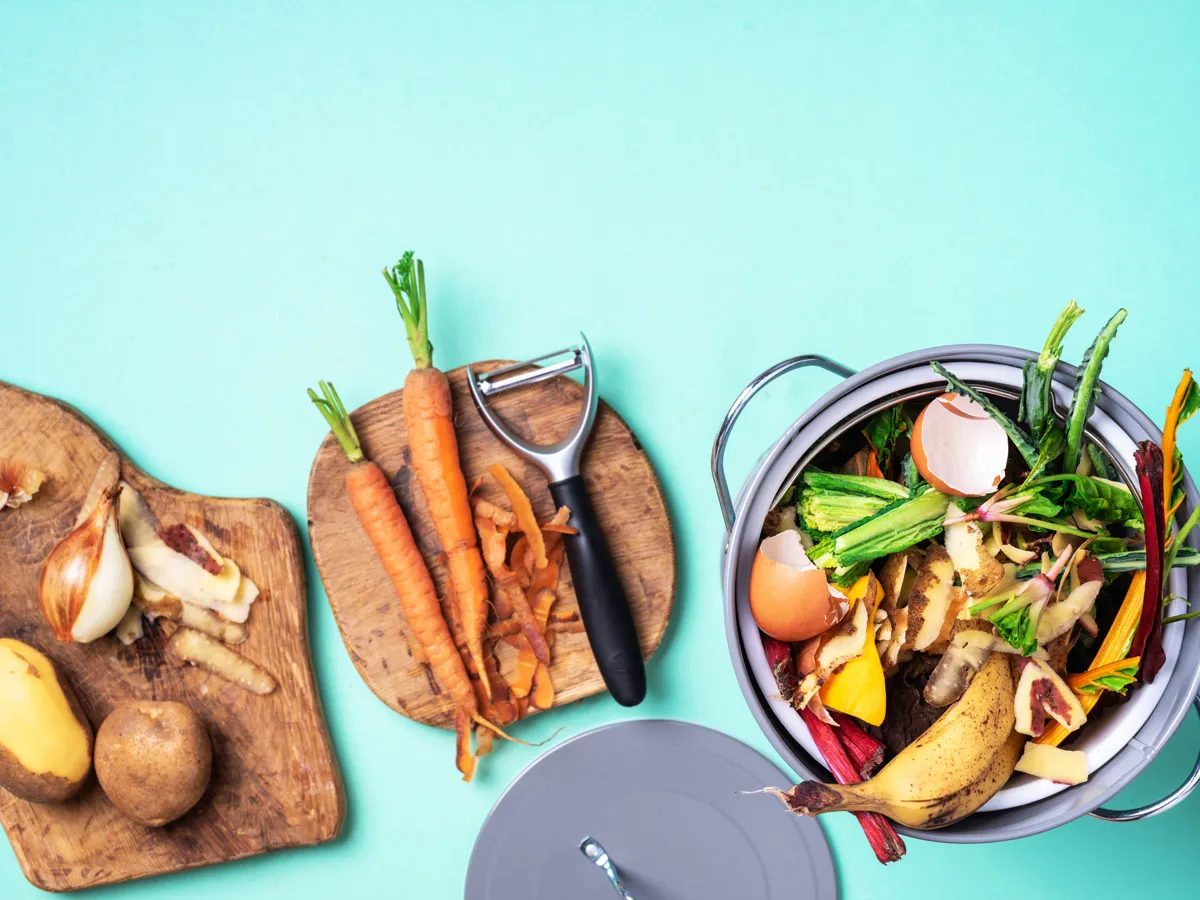
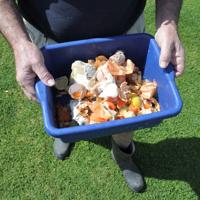
Add Food Scraps: Starting with modest amounts, introduce food scraps into the bin. Aim for a mix of vegetable peels, fruit scraps, and coffee grounds.
-
Cover the Bin: Keep the bin covered to maintain moisture and darkness—conditions worms naturally prefer.
Feeding Your Worms
Feeding your worms is an ongoing process, and patience is essential while they acclimate to their new environment.
Suitable Food:
- Vegetable scraps
- Fruit scraps (avoid citrus)
- Coffee grounds and paper filters
- Teabags (non-plastic)
- Crushed eggshells
Avoid These Items:
- Meat, dairy, and oily foods, which can attract pests
- Citrus fruits, which can make the bin too acidic
- Onions and garlic, which worms may tend to avoid
Add new food scraps by gently burying them in the bedding periodically. Be mindful not to overfeed; excess food can lead to odors and attract pests.
Maintaining the Worm Bin
Keeping the worm bin environment stable is crucial for successful vermicomposting.
- Moisture: The bedding should remain as moist as a wrung-out sponge. Mist with water if it becomes dry, or add more bedding if it’s too wet.
- Temperature: Worms thrive best in temperatures between 55°F and 77°F (13°C - 25°C). Avoid extreme temperatures by keeping the bin in a shaded area or indoors.
- Turning the Bin: Gently turn the contents with a garden fork about once a week. This ensures proper aeration without disturbing the worms too much.
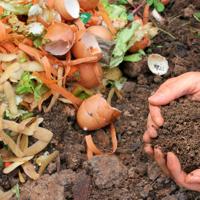
Harvesting Vermicompost
After several months, your worms will have converted much of the bedding and food scraps into dark, crumbly vermicompost.
Harvesting Process:
-
Stop Feeding: Cease adding food about two weeks before you plan to harvest.
-
Separate Worms from Compost: Push the finished compost to one side and add fresh bedding and food to the other side. Most worms will migrate to the fresh side, allowing you to collect the mature compost more easily.
-
Manual Separation: For smaller bins, dump the contents onto a tarp and create small piles. Worms will dive to the bottom, allowing you to gently collect the compost from the top.
Incorporating Vermicompost into Your Garden
Vermicompost can be incorporated directly into your garden soil or used to make “compost tea” for liquid feeding. It’s a gentle way to boost soil health and plant growth without the use of synthetic fertilizers.
- Soil Amendment: Mix vermicompost into the topsoil around plants.
- Compost Tea: Steep vermicompost in water for several days, strain, and use the liquid to nourish plants.
Conclusion
Vermicomposting is a pleasant, hands-on approach to reducing waste and enriching your garden naturally. It can take time to master, but the rewards of healthier plants and reduced kitchen waste are well worth the effort.
For those interested in further reading, many online resources, libraries, and local gardening clubs can provide additional guidance. Embrace the journey, and discover what vermicomposting can bring to your sustainable gardening experience.
Remember, every small effort counts towards a more sustainable lifestyle. Happy composting!